
Importing and Exporting

|
As soon as we filmed our shots to edit into our movie trailer, we imported them into Final Cut Express via the 'Log And Transfer' panel shown on the left. here our shots have shown up at the bottom of the panel and in order to import them into our Final Cut project, they have to be highlighted and extracted from the memory card of the video camera. The clips will then appear on our project where we will be able to edit them onto our timeline and ultimately create our trailer. By holding the 'control' key and highlighting the required clips, we are able to discard any outtakes that may be unnessesary for our trailer. Once the clips have been imported into our project we can use the simple cut, mark in and mark out options in order to create a very simple timeline. These clips can then be edited to make a more realistic and proffessional level of surface realism. (see effects and filters page: http://exitsurvival.weebly.com/effects-and-fileters.html )
|
|
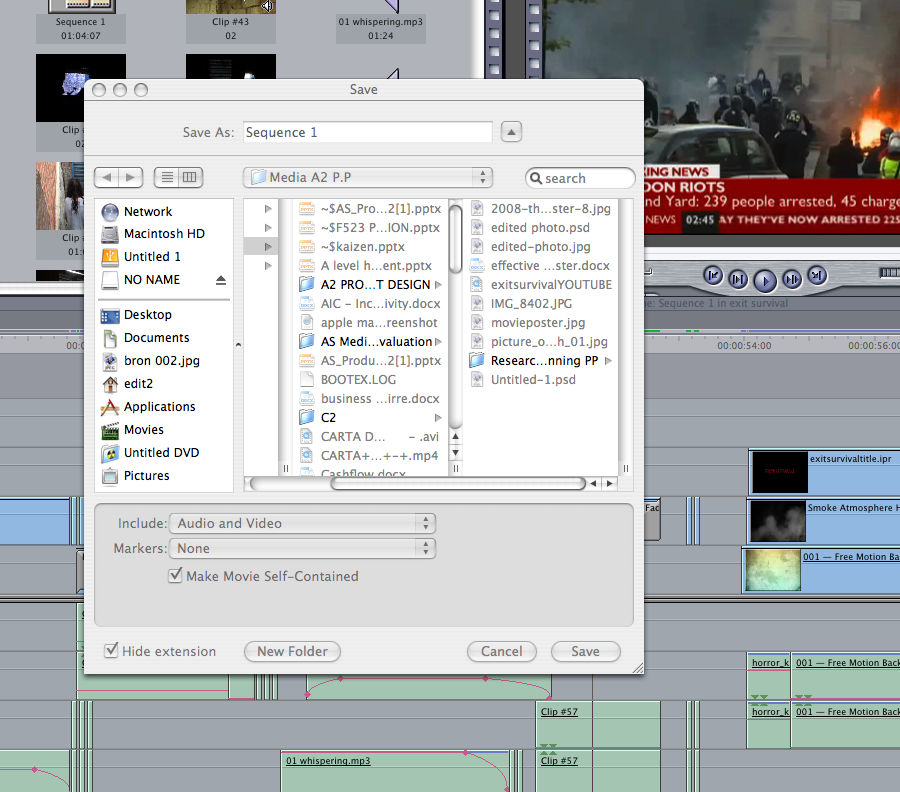
As soon as our movie trailer to Exit Survival is completed, we have to export it so that it can be burned to disc. when exporting a projec, this screen appears (refer to photo on right) from here you can choose the destination to save your project to and the desired name. this then converts the project into a '.mov' file or movie file where it can then be simply draged into a program called iDVD. iDVD is another program included in the Final Cut Express package which ultimately turns the completed project into the trailer by allowing you to dedicate a home page and menu for your DVD. After this the trailer can finally be burmed onto disc and used in any modern day DVD device. |
|
